
A few years ago we reviewed the Think Tank Photo Trifecta 10 backpack, a camera backpack which had the feature of being able to access the interior of the bag from both sides via two side panels. While it was a good design, there was room for improvement. Now Think Tank Photo has come out with the Urban Access series and they have sent us the Urban Access 15 for review.

The Urban Access 15 has been slightly enlarged from the Trifecta, which now allows for a dedicated laptop pocket to be added to the interior of the backpack.

Unfortunately, although this bag is advertised as being able to hold up to a 15.4” laptop, I was not able to fit my older unibody 15” MacBook Pro into this pocket. It was only able to slide it in about 3/4 of the way in before the fit got so tight that I would have had to use considerable force to push it in any farther. I was able to wiggle it in a little further, but not all the way in. Plus, it then became a huge struggle to pull it back out again.

Unfortunately, although this bag is advertised as being able to hold up to a 15.4” laptop, I was not able to fit my older unibody 15” MacBook Pro into this pocket. It was only able to slide it in about 3/4 of the way in before the fit got so tight that I would have had to use considerable force to push it in any farther. I was able to wiggle it in a little further, but not all the way in. Plus, it then became a huge struggle to pull it back out again.
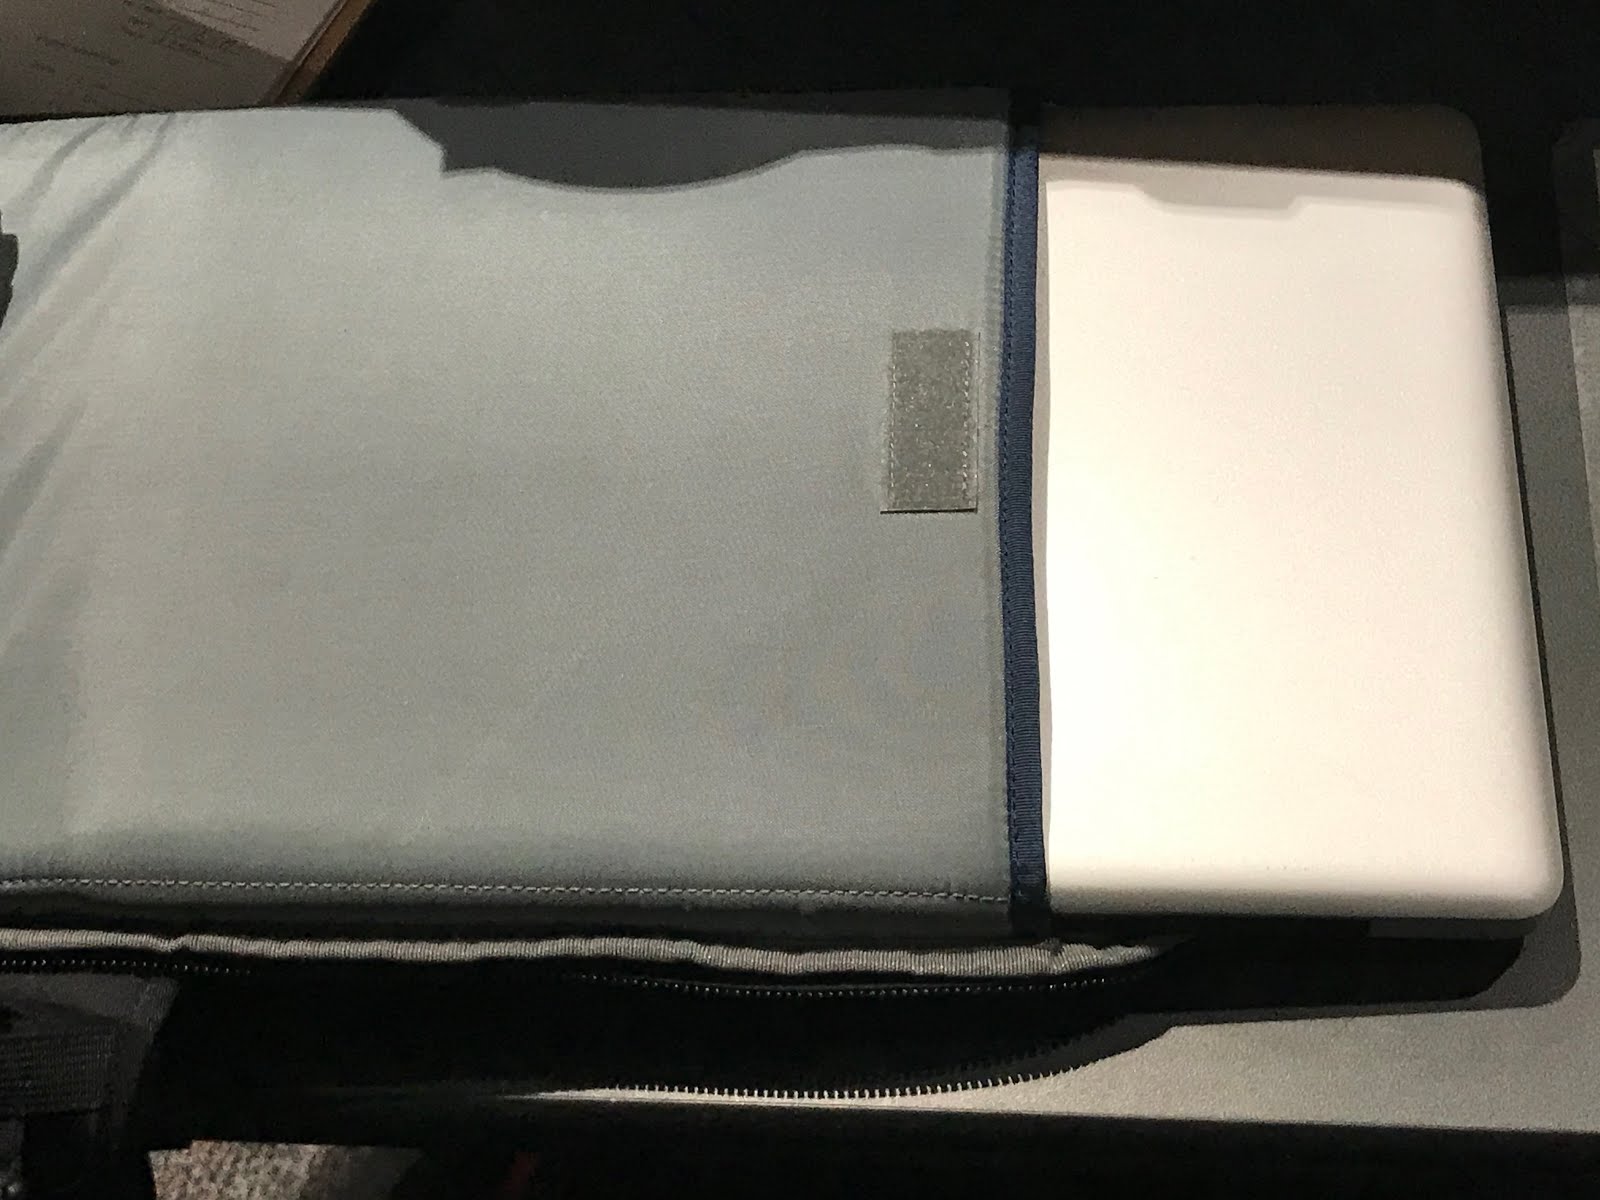
If you have one of the newer MacBook Pros which are slimmer, they will probably be a better fit, but I did not have one available to test with this backpack. However the laptop pocket does fit my 13” MacBook Air or my 12” iPad Pro with no problem.
The front pocket of the Urban Access is very large and is accessed by releasing two magnetic claps.


The pocket is large enough to store an AD200 with MagMod accessories.

The Urban Access 15 includes straps and a fold out pocket which allows you to mount a tripod to the outside of the backpack.


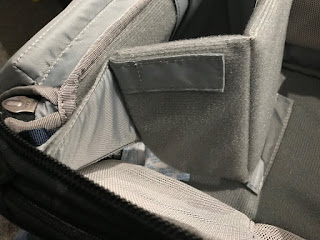
The side panels on this backpack are wider than on the Trifecta, allowing for more access to the interior. Another improvement that has been made is that the interior panels on both sides now have pockets.


The top section is very roomy, and can hold another AD200. The sides of the interior of this section are also lined with mesh pockets to hold batteries, memory cards, keys, etc.


Like the rest of Think Tank’s bags, a seam sealed rain cover is included.

On the outside of both side panels is a large expandable pocket, which easily fits a good sized water bottle.


The bag features an integrated waist belt to help take the load off your shoulders. It can be stowed away when not needed. It is also removable, so you can replace it with a Think Tank Speedbelt.

The back of the Urban Access also has a luggage pass-thru so that it can be slid over the handles of a roller bag, I found this to be very useful while traveling abroad and hope that this feature will be made standard on all backpacks.

The interior of the Urban Access is quite roomier compared to the Trifecta and the backpack also ships with more dividers.

The main sectional dividers incorporate a new type of attachment that connects to loops on the edges of the interior.

Thanks to the larger interior, I was able to easily fit everything that I normally carry for weddings in my Airport Navigator roller bag into the Urban Access 15 (minus the 15" laptop).


The main sectional dividers incorporate a new type of attachment that connects to loops on the edges of the interior.


Thanks to the larger interior, I was able to easily fit everything that I normally carry for weddings in my Airport Navigator roller bag into the Urban Access 15 (minus the 15" laptop).

A7rii body with battery grip
A7II body with battery grip
16-35mm f4
24-70mm f4
70-200mm f4
35mm f2.8
55mm f1.8
85mm f1.8
fisheye lens
2 Godox AD 200 flashes with MagMod attachments, grids and filters
2 Godox triggers
business cards
At several beach weddings this past month, I found the Urban Access 15 to be much better to use than the Trifecta. The combination of a roomier interior and larger side access panels made it easier to get gear in and out of the bag quickly without having to set the bag down.
About the only things I would like to see improved on a v2 of this bag would be a larger interior (perhaps an Urban Access 20?) and maybe a larger laptop pocket.
If you're interested in purchasing the Urban Access 15 or any other Think Tank Photo bags, please consider using the links in this article. A small portion of the sales will go toward helping us continue to do these reviews for our readers.


